
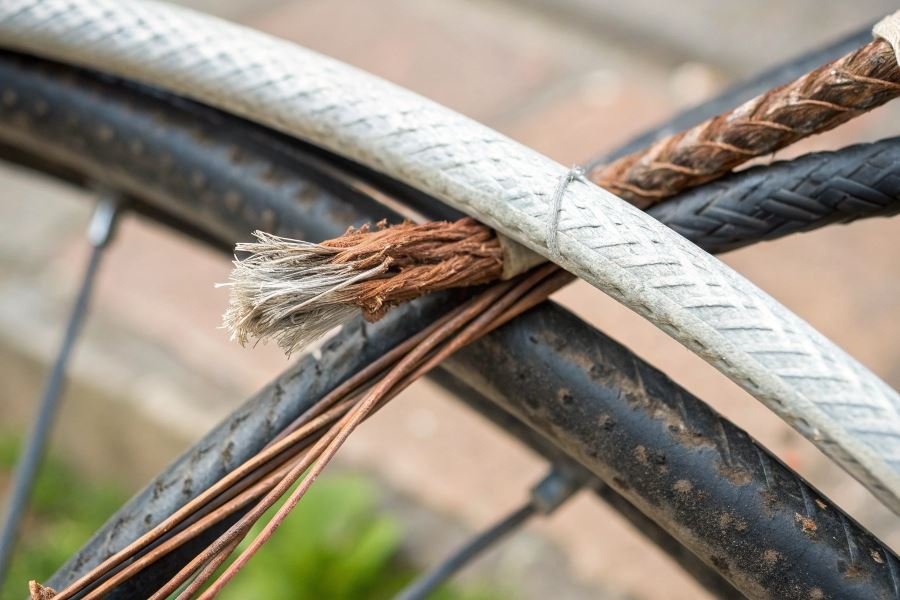
Ever slammed on your brakes during a steep descent only to feel that heart-stopping moment when they don’t respond as expected? That split-second can be the difference between a safe ride and a trip to the emergency room. Proper brake adjustment isn’t just about maintenance—it’s about survival.
When you take control of your bike’s braking system, you’re literally putting your safety in your own hands. The good news? You don’t need to be a certified mechanic to properly adjust bicycle brakes. With the right knowledge and tools, this critical maintenance task becomes surprisingly straightforward.
Brake types: Know what you’re working with
Before diving in, identify what you’re dealing with:
- Rim brakes: Including caliper, cantilever, and V-brakes that grip the wheel rim
- Disc brakes: Hydraulic or mechanical systems that clamp onto a rotor attached to the wheel hub
- Coaster brakes: Found on cruisers and kids’ bikes, activated by pedaling backward
Each system requires different adjustment techniques, but the principles of proper tension, alignment, and pad positioning remain consistent across all types.
Your brake adjustment toolkit
You’ll need surprisingly few tools to perform professional-level adjustments:
| Essential Tools | Optional but Helpful |
|---|---|
| Allen wrench set | Torque wrench |
| Screwdriver (Phillips and flathead) | Third hand tool |
| Cable cutters | Brake-specific bleed kit (for hydraulics) |
| Adjustable wrench | Isopropyl alcohol for cleaning |
Remember: Quality tools make for quality adjustments. That $5 multi-tool might work in a pinch, but precision adjustments require proper equipment that won’t strip bolts or slip during critical adjustments.
Mastering Your Bicycle Brakes
Rim brake adjustment wizardry
Let’s dive into the world of rim brakes! V-brakes and caliper systems might seem intimidating, but they’re actually quite approachable. Start by checking pad alignment—they should hit the rim squarely, not touching the tire or dipping below the rim edge. For V-brakes, use a 5mm Allen key to loosen the pad, adjust its position, and retighten while holding it perfectly aligned. With caliper brakes, look for the small barrel adjuster near the lever or caliper body—this is your fine-tuning friend.
The ability to properly adjust bicycle brakes by yourself is an essential skill that saves money and potentially prevents accidents on the trail or road. When working with rim brakes, remember that equal pad distance from the rim (about 1-2mm on each side) creates balanced stopping power.
For cable tension adjustments, most V-brakes have a barrel adjuster where the cable housing meets the brake arm. Turn it counterclockwise to increase tension (bringing pads closer to the rim) or clockwise to decrease tension. If you’ve maxed out your barrel adjuster, you’ll need to reset it and adjust the cable pinch bolt instead.
Disc brake perfection techniques
Disc brakes require a slightly different approach. For mechanical disc systems, start by confirming your rotor isn’t warped—spin the wheel and watch for wobble. The stationary pad (typically the inboard one) should be adjusted first using a 5mm Allen key, positioning it about the thickness of a business card from the rotor.
For the moving pad, use the barrel adjuster to set proper cable tension. The lever should engage the brake when pulled about halfway through its travel—not too early (which causes drag) and not too late (reducing stopping power).
Hydraulic disc brakes are the thoroughbreds of stopping systems. They self-adjust for pad wear but occasionally need realignment. If you hear rubbing, loosen the caliper mounting bolts slightly, squeeze the brake lever firmly to center the caliper over the rotor, and while holding the lever, retighten those mounting bolts.
Pro tip: Clean rotors with isopropyl alcohol, never touch them with bare fingers, and always bed in new pads by performing 20-30 moderate stops to transfer pad material to the rotor.
Lever ergonomics and feel
The final frontier in brake mastery is optimizing lever position and tension. Your brake levers should be angled so your wrists remain straight when in riding position. For drop bars, the levers should align with the slope of the drops; for flat bars, typically 30-45 degrees downward feels natural.
Most modern levers feature reach adjustment—a small screw that controls how far the lever sits from the handlebar. Riders with smaller hands should bring this in closer, while those with larger hands might prefer more distance.
| Brake Type | Optimal Pad Distance | Adjustment Tool | Common Issues |
|---|---|---|---|
| V-Brake | 1-2mm from rim | 5mm Allen key | Uneven pad wear |
| Caliper | 1-2mm from rim | 5mm Allen key | Cable stretch |
| Mechanical Disc | Business card thickness | 5mm Allen + barrel adjuster | Rotor rub |
| Hydraulic Disc | Self-adjusting | 5mm Allen (caliper alignment) | Air in system |
For the perfect lever feel, adjust the modulation using the barrel adjuster. Tighter tension gives a firmer feel with less lever travel—ideal for aggressive riding. Looser tension creates more modulation for technical terrain where subtle control matters more than outright stopping power.
Remember that brake adjustment isn’t a one-time affair—check your brakes before every serious ride, and you’ll enjoy confident stopping power when it matters most.
Keep Those Brakes Singing
You’ve done the hard work of adjusting your bicycle brakes—congratulations! But the journey doesn’t end here. Properly maintained brakes are the unsung heroes of your cycling adventures, silently protecting you mile after mile. Let’s dive into how to keep those perfectly adjusted brakes performing at their peak.
The post-adjustment test ride
After making any brake adjustments, a thorough test ride is non-negotiable. Find a safe, traffic-free area and put those freshly tuned brakes through their paces:
- Progressive braking test: Start with gentle pressure, gradually increasing to full stopping power
- Emergency stop test: From about 10 mph, apply brakes firmly (but safely) to test maximum stopping capability
- One-finger test: Can you brake effectively using just your index finger? If not, your system needs more fine-tuning
Listen for any unusual sounds—squealing, grinding, or clicking are all red flags that something’s not quite right. Your brakes should engage smoothly with minimal noise, bringing you to a confident stop without jerking or pulling to either side.
Your brake maintenance calendar
Consistent maintenance prevents small issues from becoming major problems. Here’s a schedule that keeps your brakes in prime condition:
| Timeframe | Maintenance Task |
|---|---|
| Before each ride | Quick visual inspection and brake lever test |
| Weekly | Check pad wear and alignment |
| Monthly | Clean braking surfaces, inspect cables for fraying |
| Quarterly | Full brake system inspection, lubricate pivot points |
| Annually | Replace cables and housing, deep clean all components |
During wet or muddy riding seasons, increase your maintenance frequency. Grit and moisture are the natural enemies of smooth brake operation, accelerating wear and reducing stopping power.
The DIY danger zone
While most brake maintenance falls comfortably within DIY territory, certain situations call for professional intervention:
-
Hydraulic system bleeding: Unless you have the proper tools and experience, hydraulic brake bleeding is best left to the pros at your local Trek or Specialized dealer.
-
Structural damage: If you spot cracks in your brake calipers or levers, don’t attempt repairs—these components are critical safety items.
-
Persistent problems: When you’ve tried everything and your brakes still don’t perform correctly, a professional mechanic can diagnose subtle issues you might miss.
-
Warranty concerns: DIY adjustments on newer bikes might void warranties on high-end braking systems like SRAM or Shimano components.
The cost of professional brake service typically ranges from $30-75 depending on your system type—a small price for the confidence of knowing your most important safety system is functioning perfectly.
Remember that properly maintained brakes don’t just stop better—they last longer, saving you money and preventing that heart-stopping moment when you need to stop but can’t. With regular attention and the right know-when-to-fold-’em approach to DIY maintenance, your bicycle’s braking system will deliver thousands of miles of reliable, confident stopping power.