
The mountain doesn’t care about your experience level.
When you step into backcountry terrain, you’re entering a high-stakes environment where preparation isn’t just recommended—it’s the difference between life and death. Avalanche safety isn’t some optional add-on for advanced climbers; it’s the fundamental baseline for anyone who ventures beyond groomed trails.
The statistics tell a sobering story: according to the Colorado Avalanche Information Center, avalanches claim an average of 28 lives annually in North America alone. What’s truly heartbreaking? Over 90% of victims trigger the avalanche that ultimately takes their lives. But here’s the silver lining: with proper equipment and training, your survival odds increase dramatically.
The trinity of survival
Every beginner climber needs to understand the three non-negotiable components of a basic avalanche kit:
- Beacon (transceiver) – Your electronic lifeline that emits signals allowing rescuers to locate you under snow
- Probe – A collapsible pole used to pinpoint your exact location once the beacon gets rescuers close
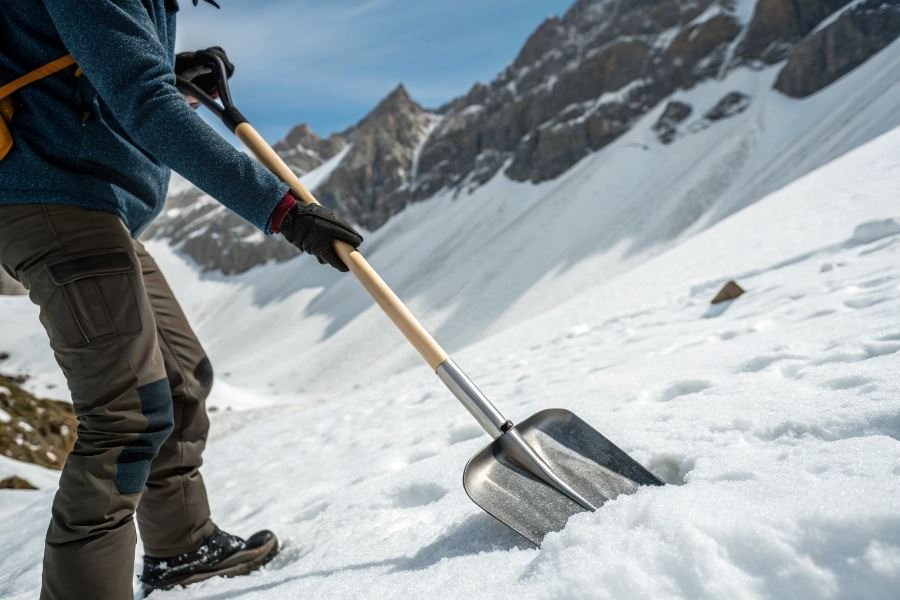
- Shovel – The tool that ultimately digs you out when minutes matter most
These three items work as a system, not as individual pieces. Missing any single component compromises the entire rescue operation. Think of them as your wilderness insurance policy—one you hope never to use but would never venture without.
The brutal truth about time
When buried in an avalanche, your survival window is brutally short. After just 15 minutes, survival rates drop to approximately 50%. Beyond 30 minutes? The odds become grim. This isn’t meant to scare you away from the mountains, but to emphasize that proper equipment isn’t about checking boxes—it’s about buying yourself precious time.
Essential Components of Your Avalanche Safety Arsenal
When venturing into backcountry terrain, your avalanche kit isn’t just equipment—it’s your lifeline. Selecting the right components requires careful consideration, especially for those new to mountain adventures. Let’s dive into the critical elements that make up a reliable avalanche safety system.
For anyone learning how to choose an avalanche kit for beginner climbers, understanding the three fundamental components—transceivers, probes, and shovels—is absolutely essential. Each piece serves a specific function in the rescue sequence, and your life (or someone else’s) may depend on their quality and your familiarity with them.
Avalanche Transceivers: Your Digital Lifeline
Avalanche transceivers (also called beacons) are sophisticated electronic devices that emit and receive signals, allowing rescuers to locate buried victims. For beginners, focus on these key features:
Signal range and clarity: Entry-level models like the BCA Tracker S offer simplified interfaces with 50+ meter range—perfect for newcomers without sacrificing performance.
Multiple-burial marking: Even as a beginner, you’ll want a transceiver that can mark multiple signals, like the Mammut Barryvox which clearly indicates when multiple victims are detected.
Battery life: Look for devices offering 200+ hours in transmit mode with standard alkaline batteries.
The best beginner transceivers balance simplicity with essential functionality—avoid overly complex models with features you won’t use while learning.
| Transceiver Model | Range | Multiple Burial | Battery Life | Beginner-Friendly Rating |
|---|---|---|---|---|
| BCA Tracker S | 50m | Yes | 250 hrs | ★★★★★ |
| Mammut Barryvox | 70m | Yes | 300 hrs | ★★★★☆ |
| Ortovox Zoom+ | 40m | Yes | 250 hrs | ★★★★★ |
Avalanche Probes: Your Underground Eyes
Once your transceiver narrows the search area, your probe becomes critical for pinpoint location.
Length considerations: Beginners should select probes between 240-270cm. This provides sufficient depth for most avalanche burials while remaining manageable.
Material durability: Aluminum probes offer the best balance of weight and strength for newcomers. Carbon fiber probes are lighter but more expensive and potentially more fragile.
Assembly mechanisms: Look for quick-deployment systems like the Black Diamond Quickdraw Tour Probe with its rapid pull-cord assembly that deploys in seconds—crucial when time is of the essence.
The weight difference between probe models might seem negligible on paper, but after a full day of backcountry travel, every ounce matters.
Avalanche Shovels: Your Excavation Tool
The final component—and often the most physically demanding part of a rescue—is digging.
Design elements: T-shaped handles provide better leverage than D-grips for most users. The Backcountry Access B-1 EXT offers an extendable shaft that balances packability with digging efficiency.
Weight factors: Aluminum shovels typically weigh 1-2 pounds—an ideal balance for beginners. Ultralight options may save weight but often sacrifice durability and digging power.
Deployment efficiency: Look for shovels with smooth locking mechanisms that can be assembled while wearing gloves. Telescoping handles should lock securely without complicated mechanisms.
Blade size: A blade surface area of approximately 25 square inches provides efficient snow movement without becoming unwieldy in tight spaces.
Remember that your avalanche kit is only as effective as your training. Even the most advanced equipment requires practice and proper technique. Invest in an avalanche safety course alongside your gear purchase to maximize your safety in the backcountry.
Beyond the Basics: Mastering Your Avalanche Kit
Training is non-negotiable
Let’s cut straight to it: owning avalanche gear without proper training is like having a Ferrari without knowing how to drive. The American Avalanche Association recommends at minimum an AIARE Level 1 course (or equivalent) before venturing into avalanche terrain. These typically run 2-3 days and cost $350-500 – an investment that could literally save your life.
Practice makes perfect. After certification, regular beacon practice is essential. Many ski resorts maintain beacon training parks where you can sharpen your skills. The Backcountry Access Training Center app offers excellent virtual drills to keep your rescue skills sharp during the off-season.
“The best avalanche kit is the one you know how to use instinctively when every second counts.”
Most manufacturers offer free online tutorials specific to their equipment. Black Diamond and Mammut provide particularly comprehensive video libraries demonstrating proper deployment techniques.
Budget breakdown for beginners
Quality avalanche safety gear represents a significant investment, but there are smart ways to approach it:
| Equipment | Entry-Level Price | Mid-Range Price | What You’re Paying For |
|---|---|---|---|
| Beacon | $300-350 | $350-450 | Multiple antennas, faster processing |
| Probe | $40-60 | $70-100 | Quicker assembly, durability |
| Shovel | $50-70 | $80-120 | Stronger materials, ergonomics |
| Airbag | $600-700 | $900-1200 | Weight savings, features |
Value assessment tip: Beacons show the most significant performance differences between price points. Never skimp here. The BCA Tracker S ($300) offers excellent performance for beginners without breaking the bank.
For those on tight budgets, consider:
- Purchasing last season’s models (often 20-30% off)
- Renting airbag systems initially ($45-75/day)
- Joining backcountry clubs that offer member discounts
Remember that avalanche education costs should be factored into your overall budget. A $400 course plus $500 in gear is far better than $900 in gear with no training.
Keeping your lifeline reliable
Avalanche gear maintenance isn’t just recommended—it’s essential. Your life depends on this equipment functioning perfectly when needed.
Beacon battery protocol: Always use high-quality alkaline batteries (not rechargeable) and replace them when they reach 70% capacity. Test battery levels before every outing and carry spares. Most digital beacons require three AAA batteries that should be replaced at the beginning of each season.
Storage considerations:
- Store beacons in a cool, dry place with batteries removed during off-season
- Keep probes assembled but not locked to prevent tension on the cable
- Store shovels disassembled but lightly oiled at connection points
- Hang airbags uncompressed in dry locations away from chemicals
Testing schedule: Mark your calendar for monthly function checks during the season. Deploy airbags at least once annually (following manufacturer guidelines). The Ortovox beacon test tool allows for comprehensive signal checks.
Pro tip: Document your maintenance with dated photos. This creates a record for warranty purposes and helps identify wear patterns over time.
By treating your avalanche kit with the same care as other critical equipment, you ensure it will perform when—not if—you need it most.